
Step 1
To get started, register in your personal account

Step 2
Go to the 'Projects' section in the left menu and click the 'Create Project' button

Please don’t forget to confirm your email so that we can send you the access credentials once the projects are created
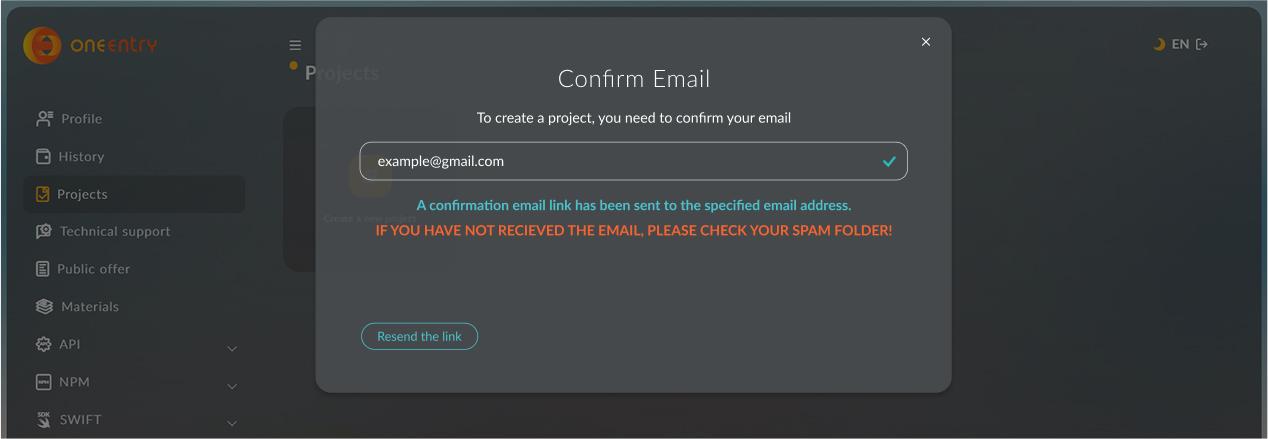
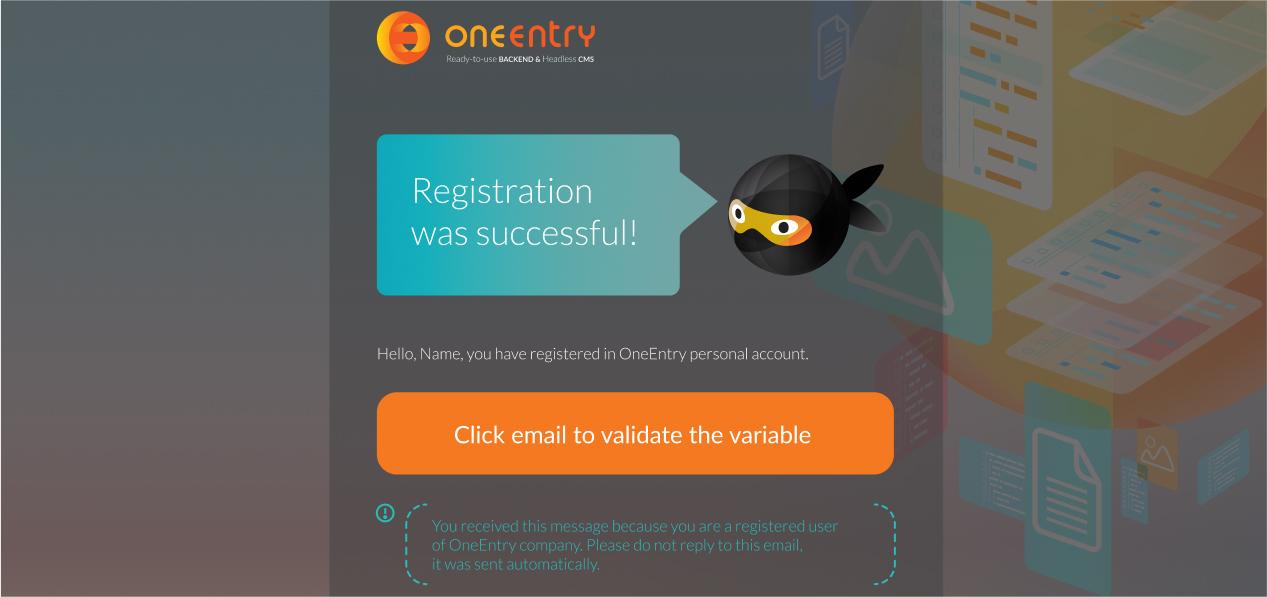
Click the orange button to verify your email address
After confirmation, you can create a project

Step 3
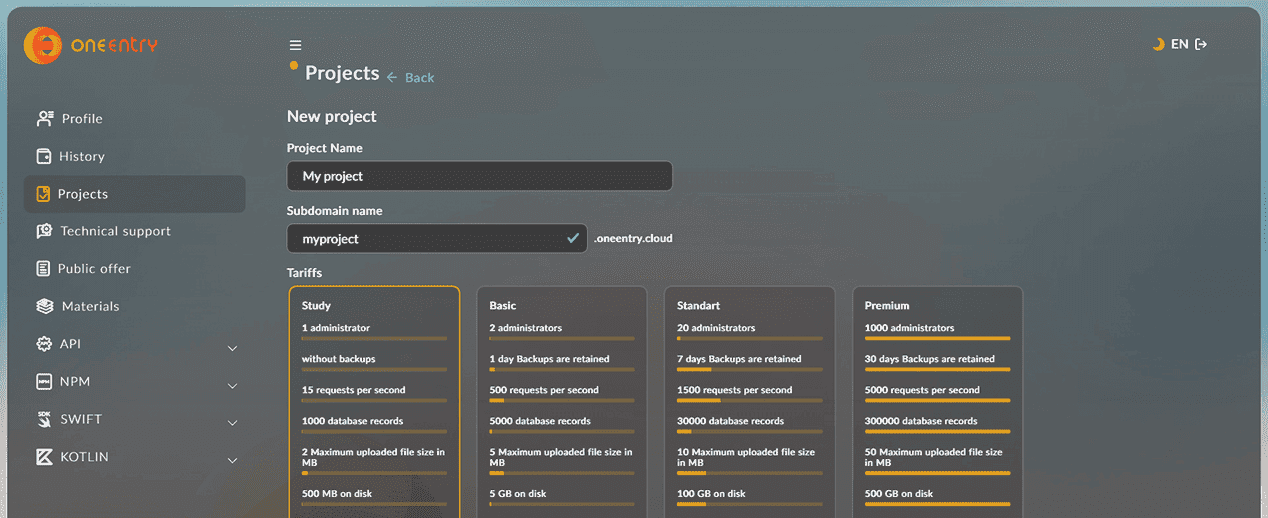
Enter the name of your project and select a pricing plan, then create your first project
Step 4
Wait for the project to be created. Go to the created project

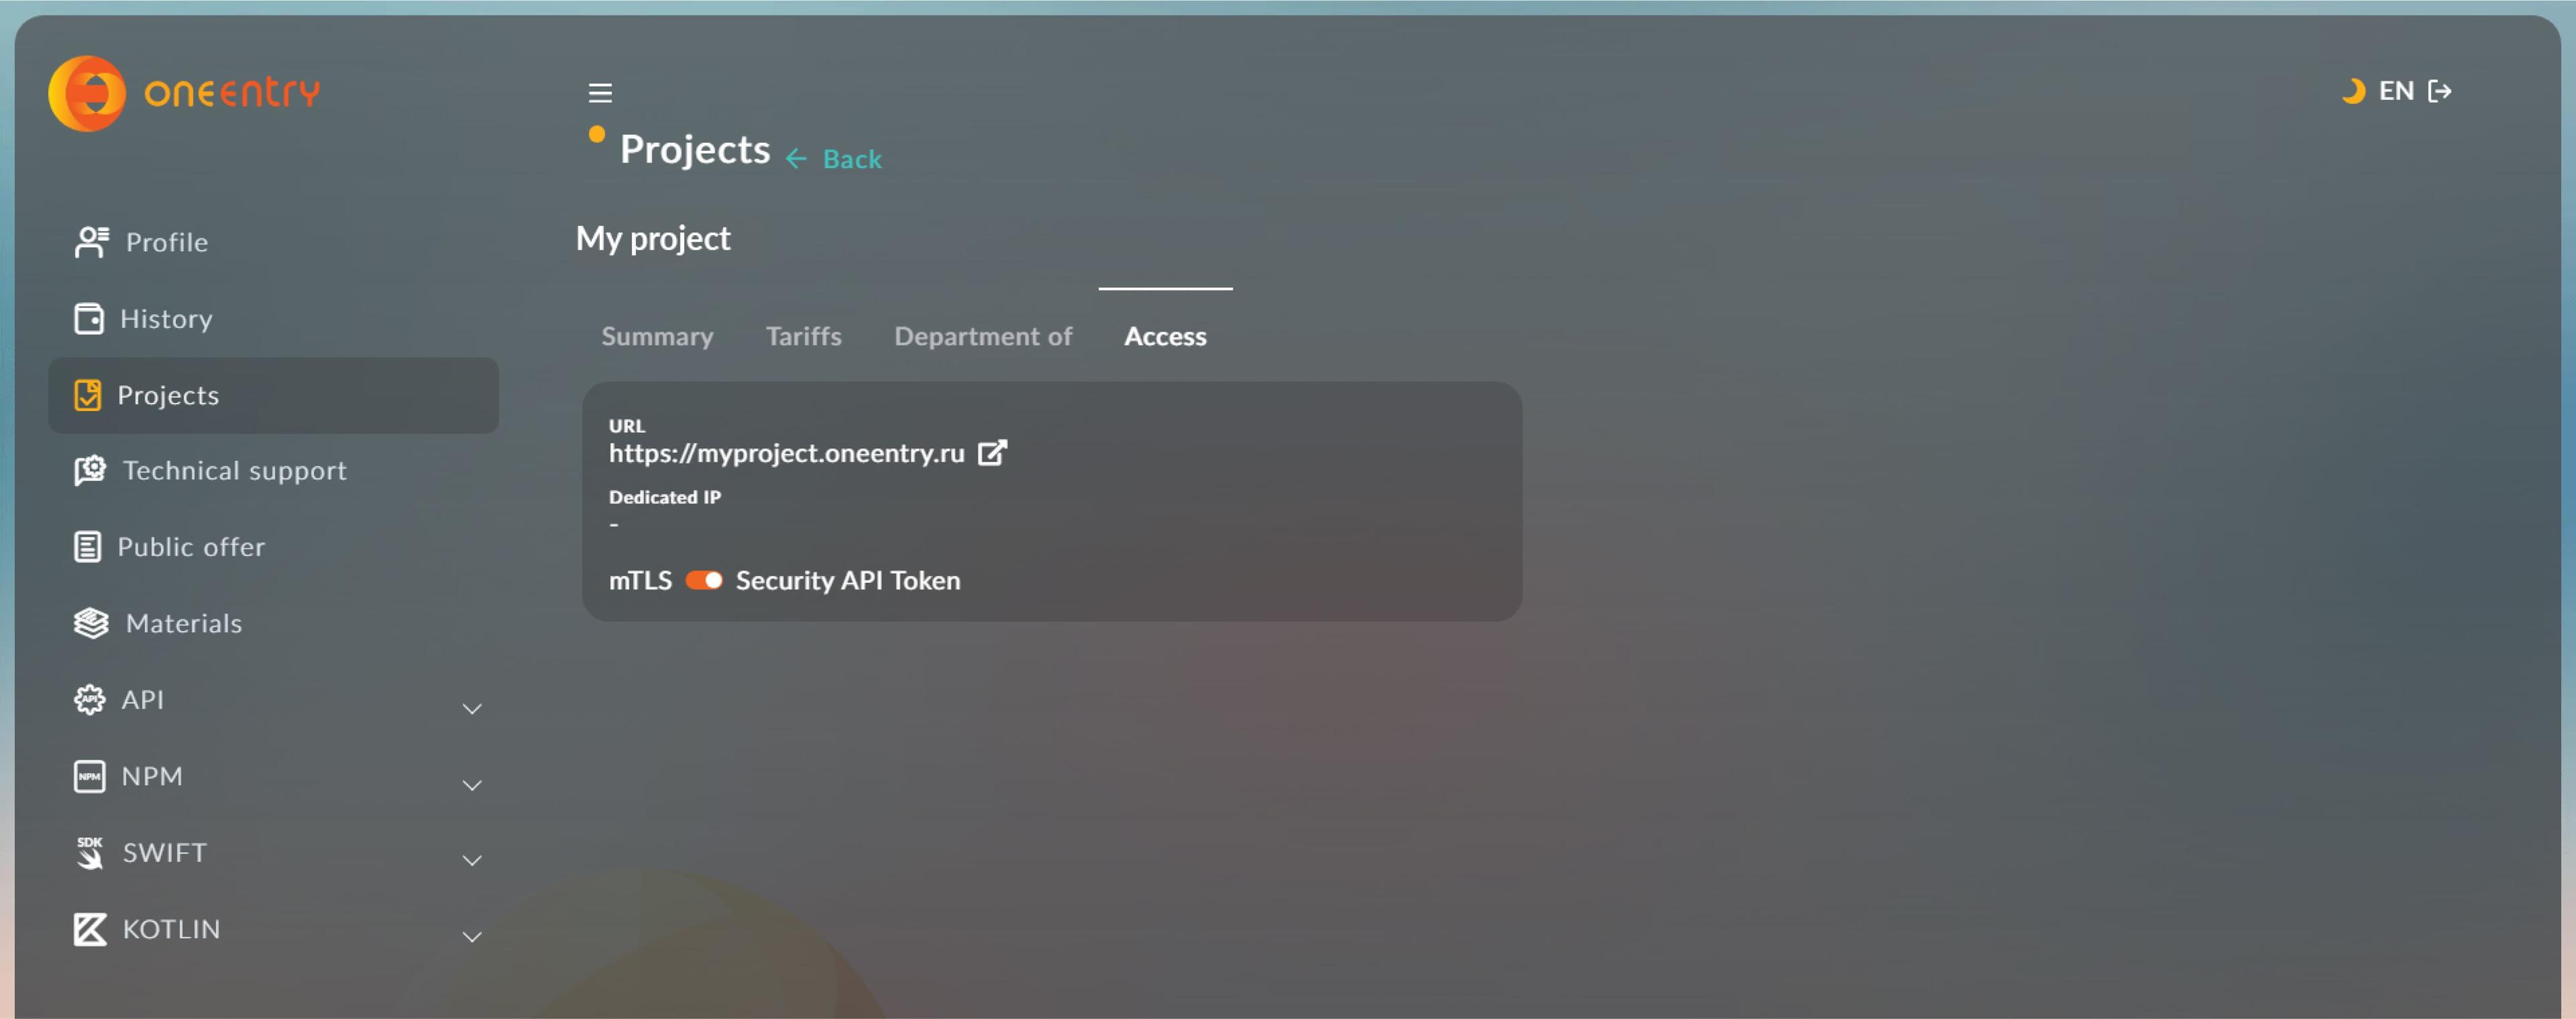
Go to the 'Access' tab and click on the link with the address of your admin panel in the URL line
Step 5
After the project status changes to 'Working', enter the login and password that will be sent to the email address you provided during registration, and click the 'Login' button

Before starting work with the API, you need to add content. Let's consider an example with a page. Go to the 'Content Management' section. Click the 'Create page' button

Select in the 'Page Types' field - for 'Regular Page', enter Page Title, Page URL, Menu Item Name for the page, and any text in the editor. All data is saved after entering it
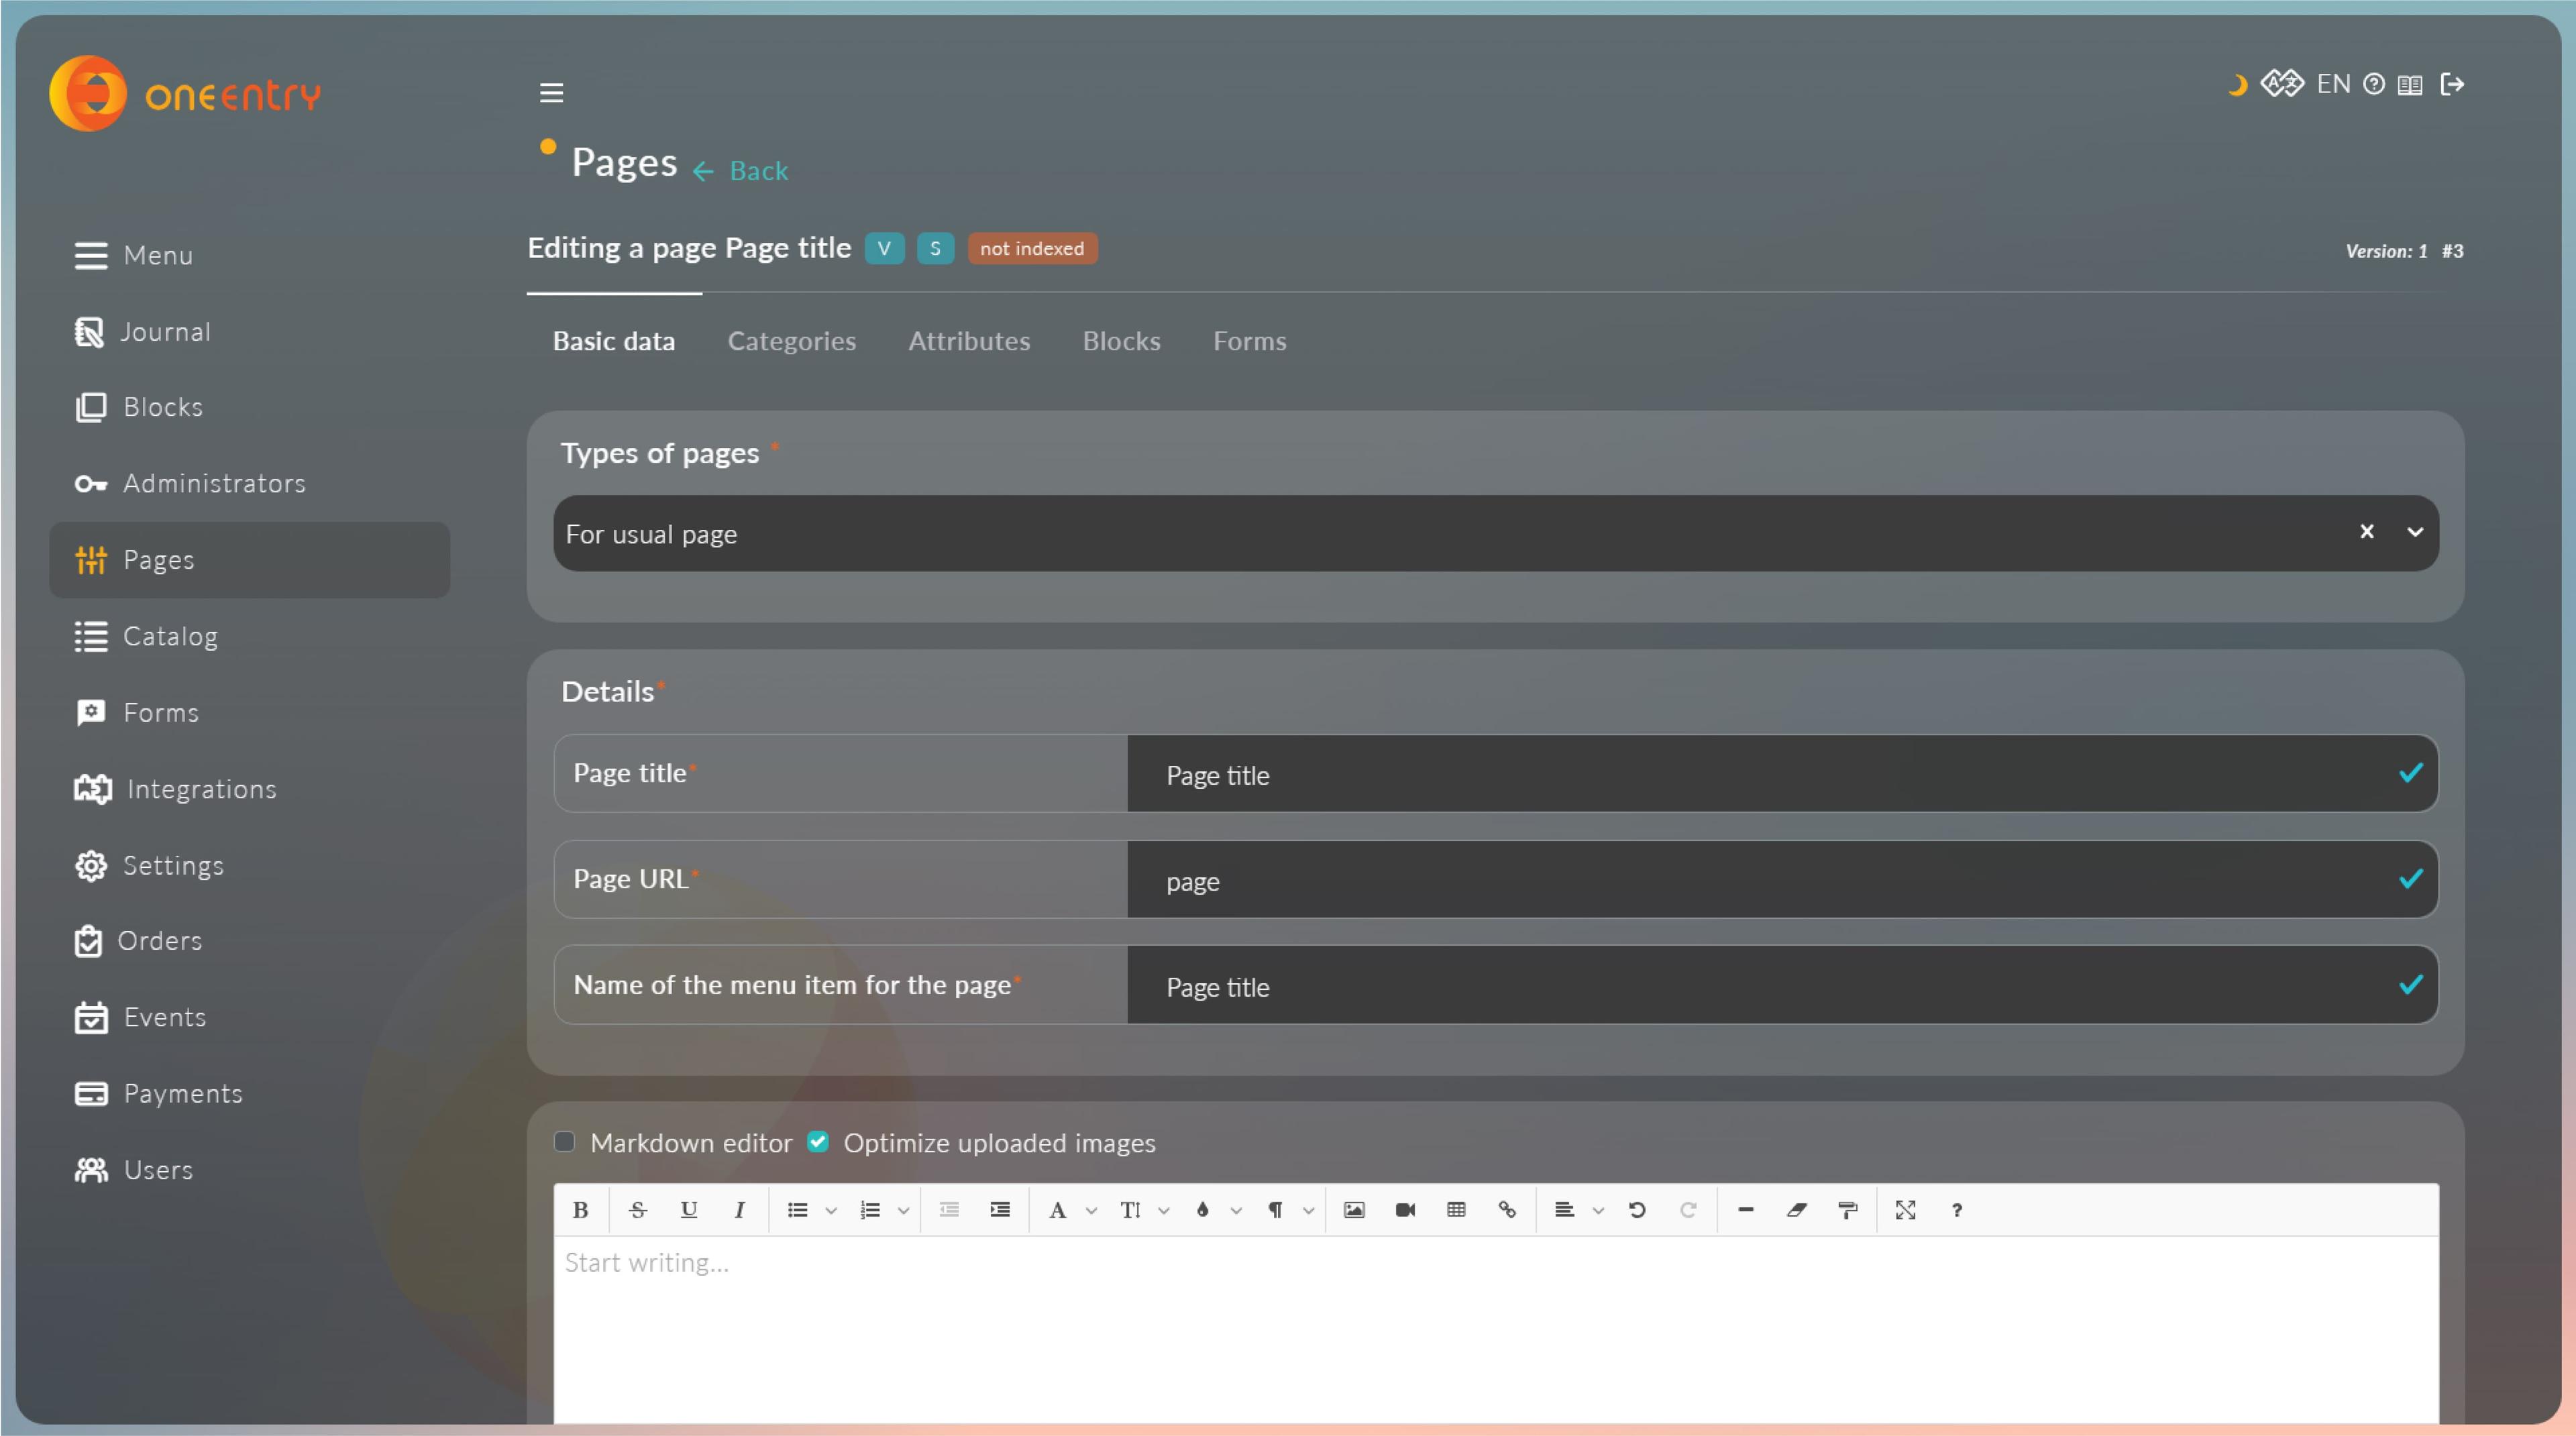
Your page has been created and you can see it in the list of pages in the 'Content Management' section

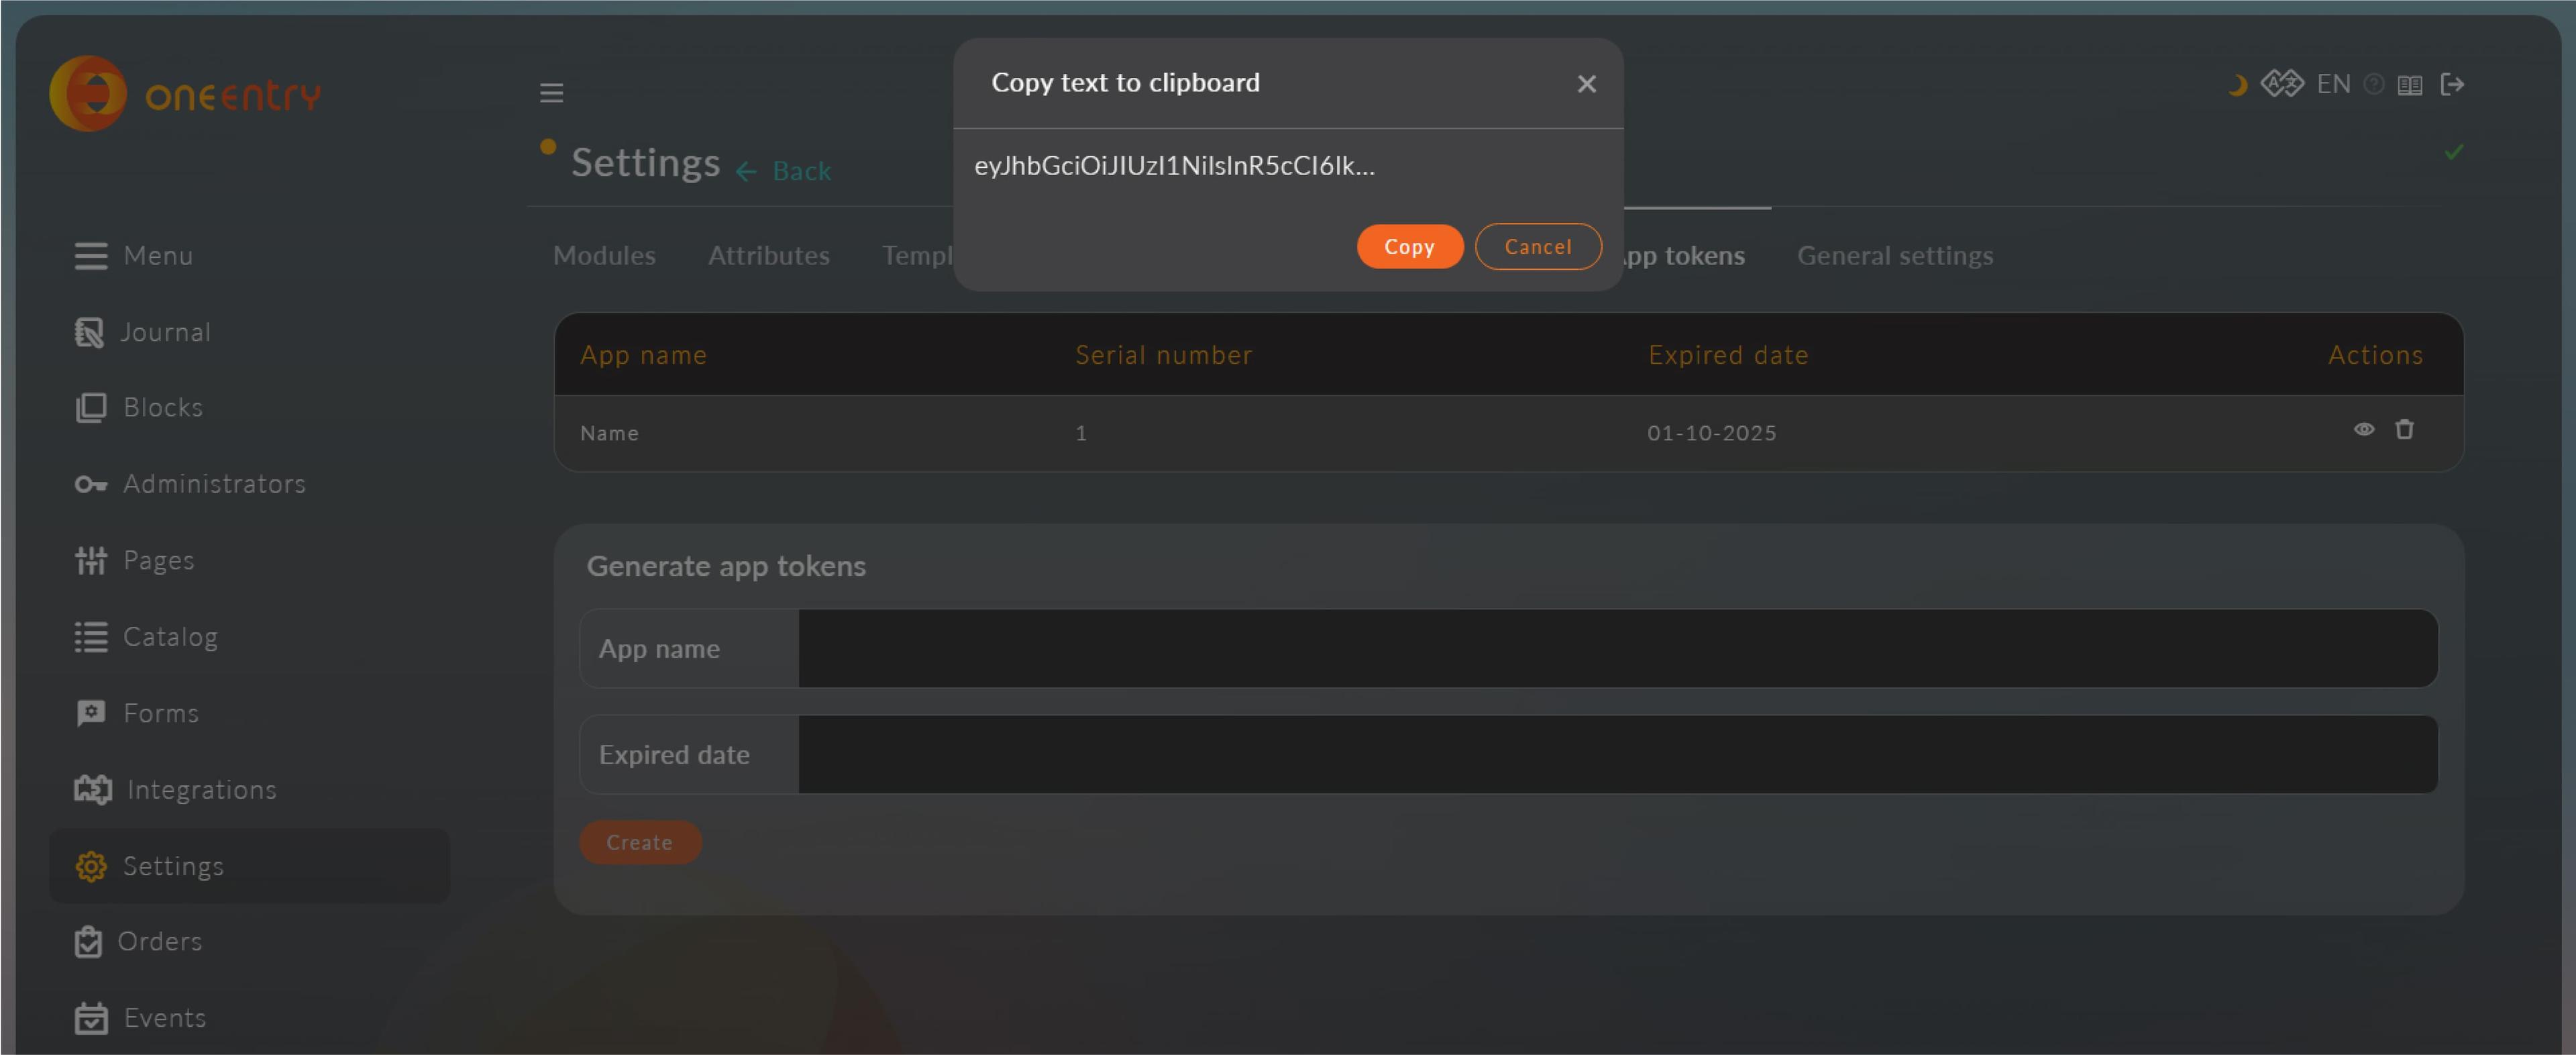
Go to the 'Settings' menu, then go to the 'Application Tokens' tab. Enter the name of your application (the name can be anything) and click the 'Create' button. After the certificate is created, click on the 'Show' icon in the table and click the 'Copy' button
Step 6
Let's consider an example of obtaining a created page using JavaScript. Open a text editor and create an HTML document, specify the address to the JavaScript script, and create an H1 tag and a div tag for displaying data on the page
    <!DOCTYPE html>
    <html>
      <head>
        <meta charset="UTF-8" />
        <meta name="viewport" content="width=device-width, initial-scale=1.0" />
        <title>Document</title>
      </head>
      <body>
        <h1 id="title"></h1>
        <div id="text"></div>
        <script src="app.js"></script>
      </body>
    </html>
In the js file, specify the address of your project and the path to the API method for getting a page by URL. At the end of the path, specify the URL that you specified when creating the page. In the request headers, specify 'x-app-token' and insert the token you copied from the OneEntry Settings
    const title = document.querySelector('#title')
    const text = document.querySelector('#text')
    const getData = async () => {
      try {
        const response = await fetch(
          'https://subdomain.oneentry.cloud/api/content/pages/1',
          {
            method: 'GET',
          },
        )
        const data = await response.json()
        title.innerHTML = data.localizeInfos['en-US'].title
        text.innerHTML = data.localizeInfos['en-US'].content
      } catch (error) {
        console.log(error)
      }
    };

    getData()
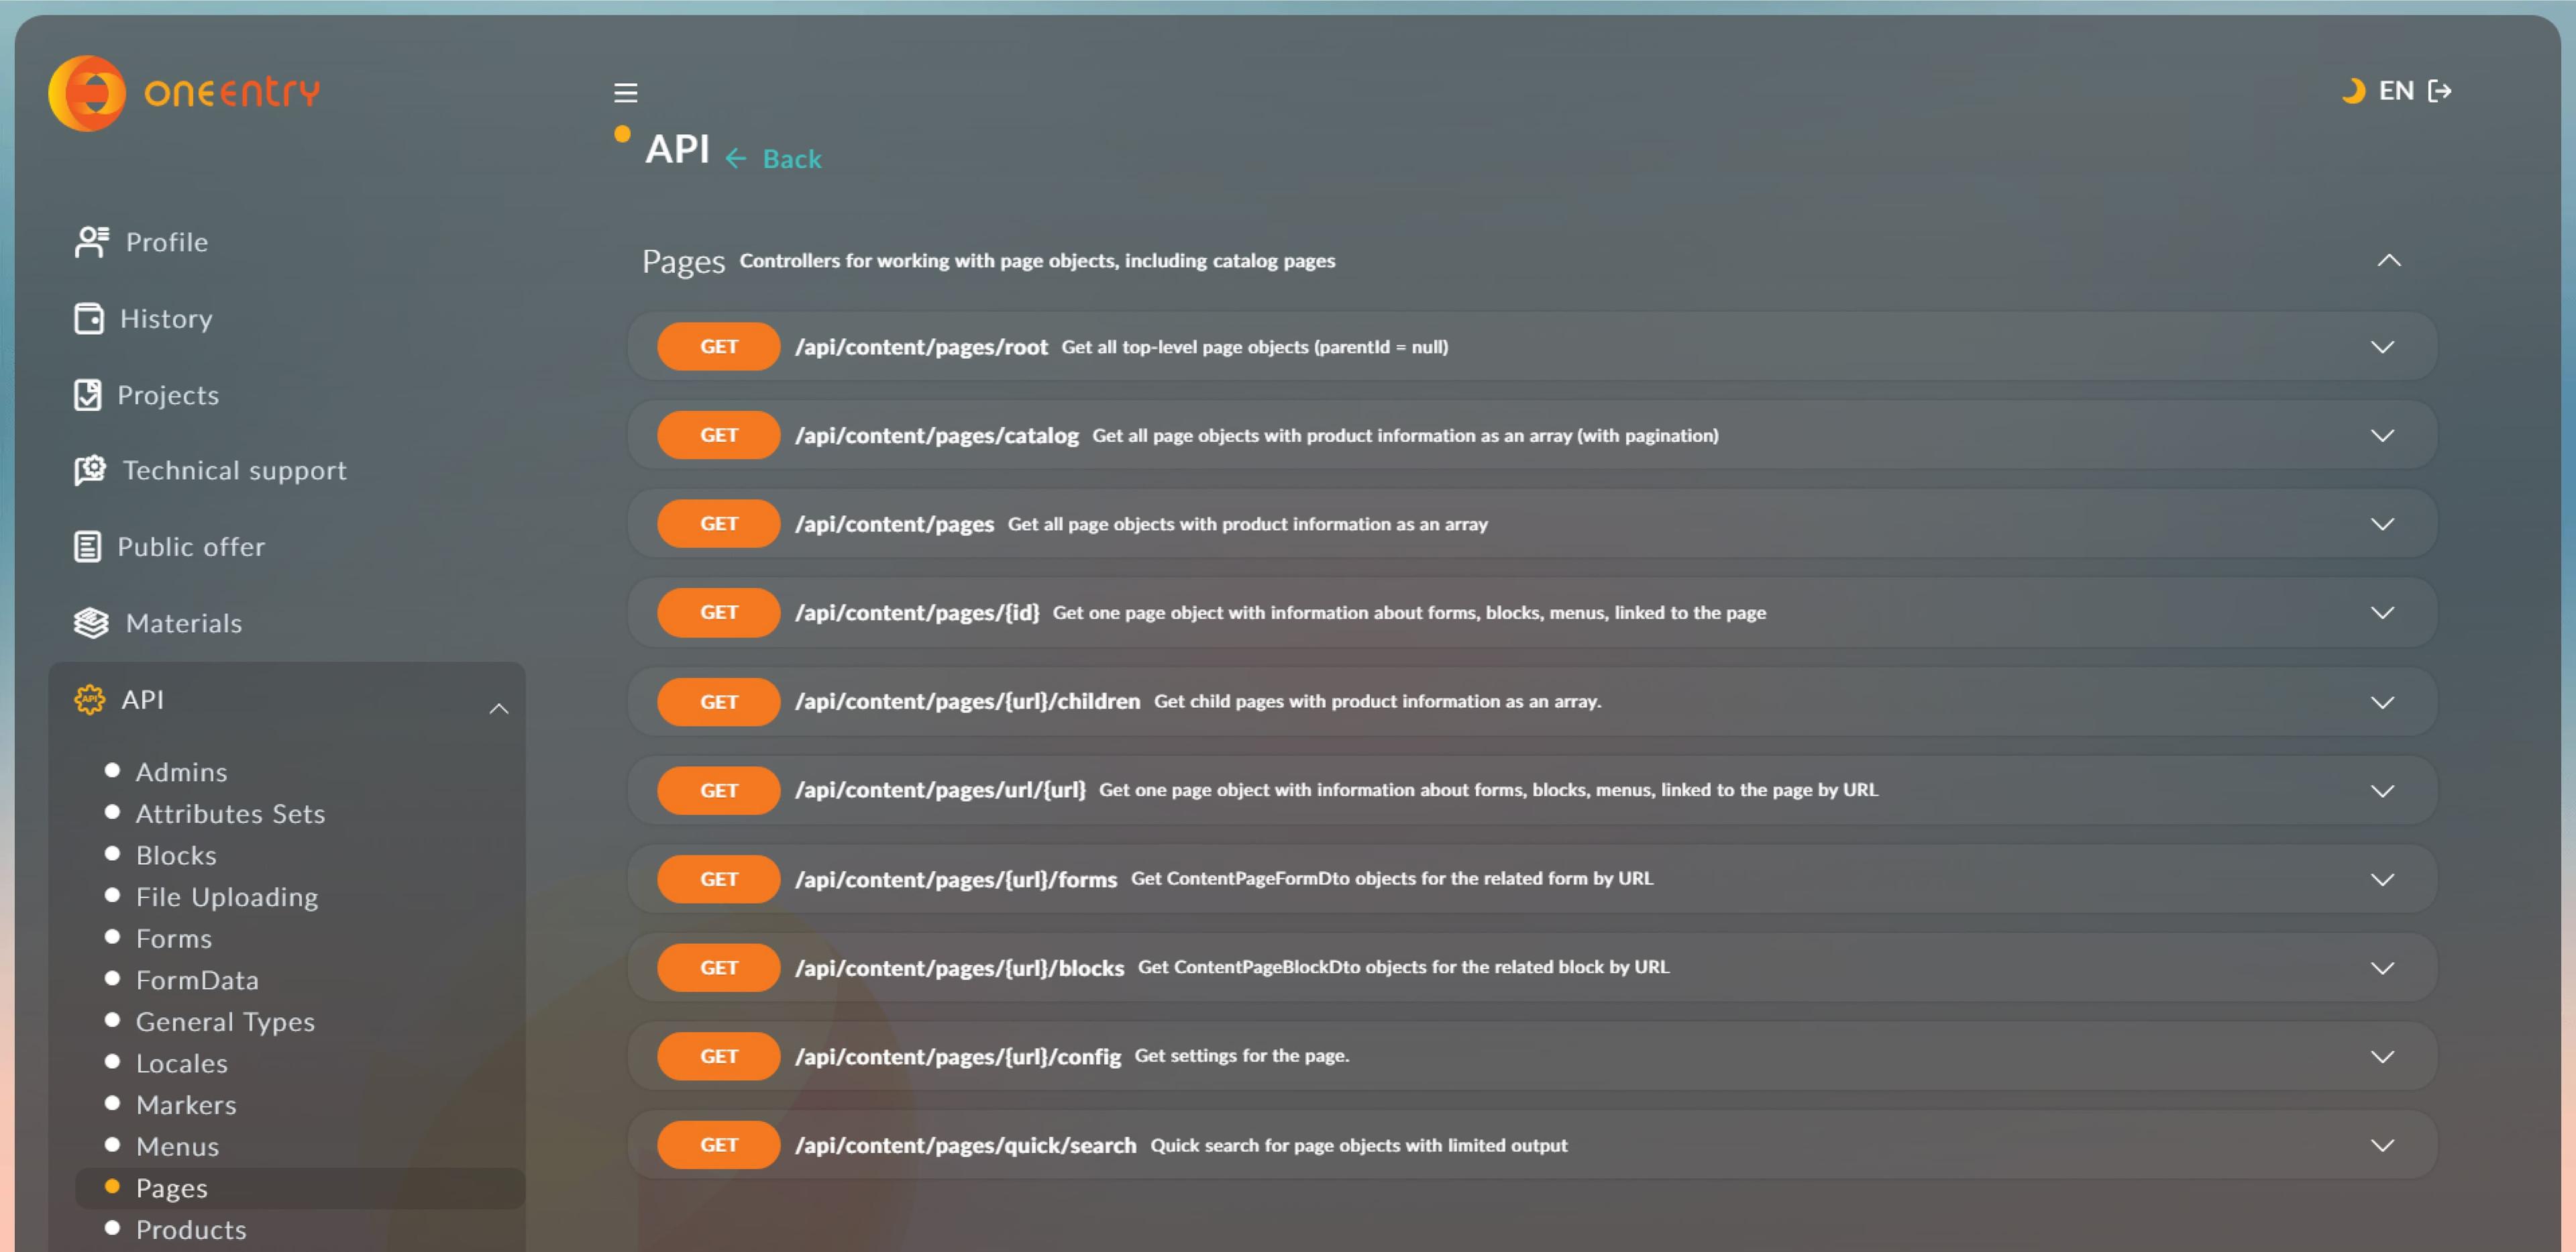
Description of methods for obtaining data via API can be found in the personal account in the 'API' section
Step 7
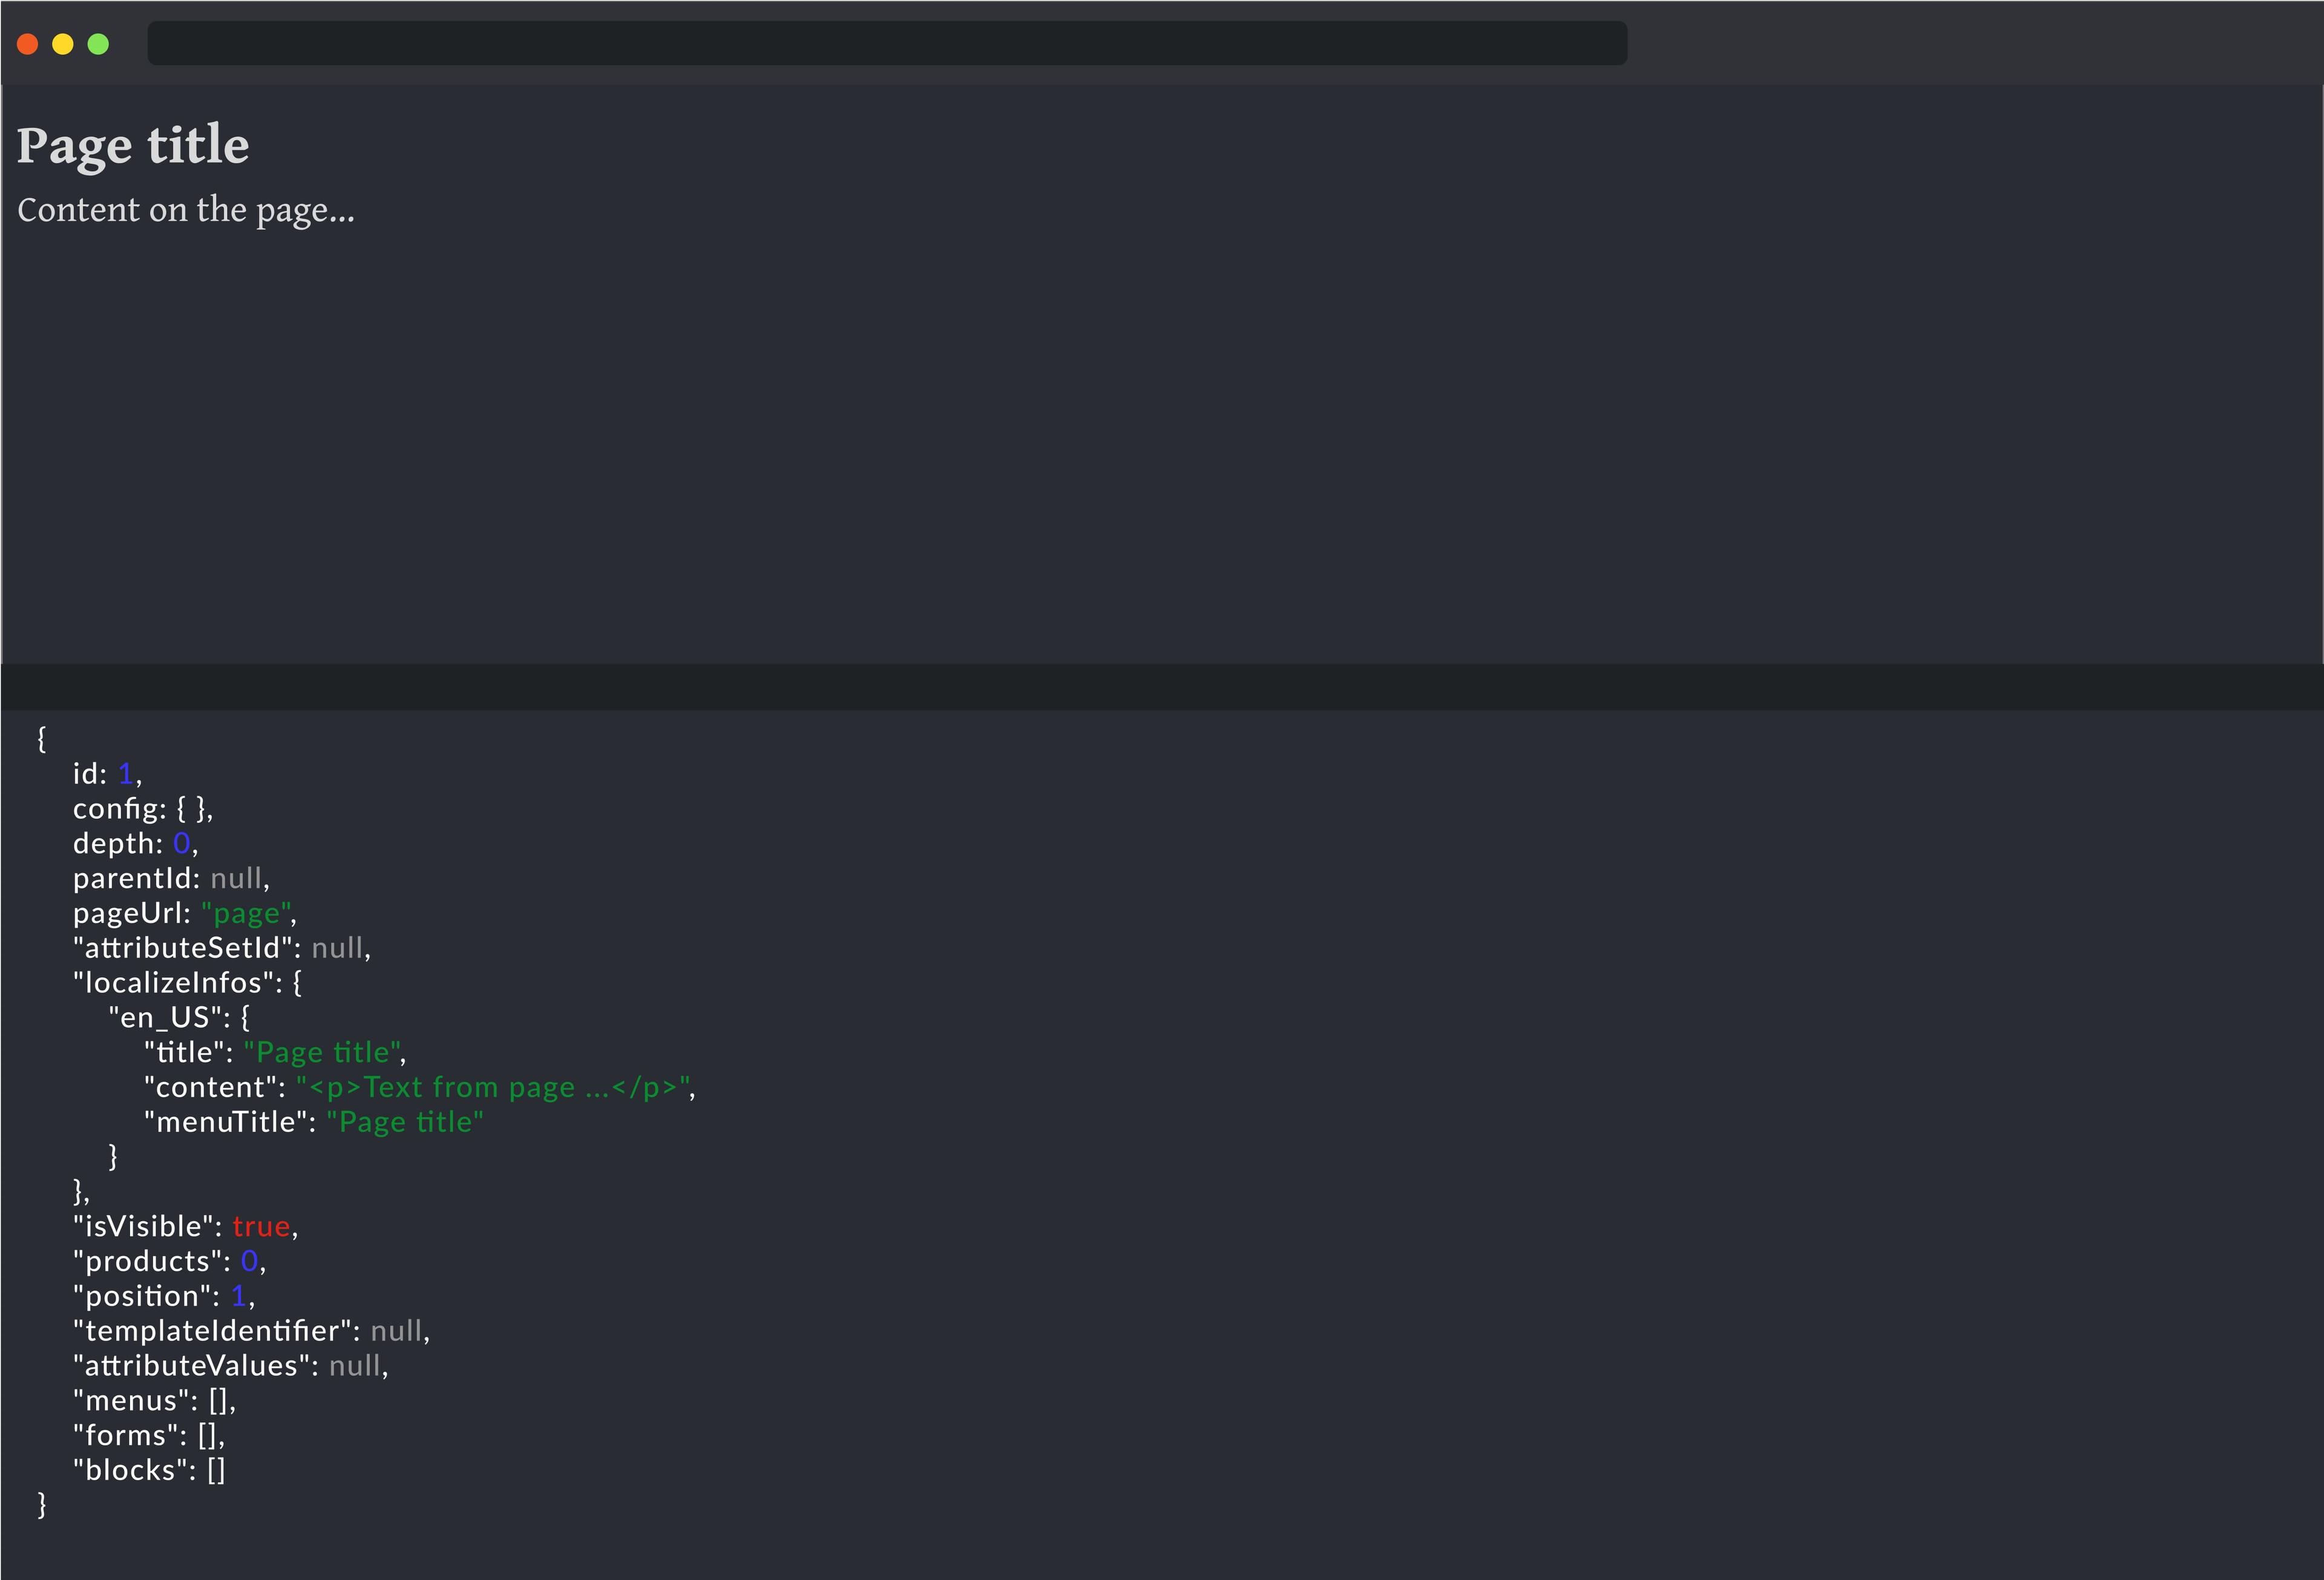
Open your browser, open your HTML file, and you will see on the screen the data received from your first page

Go to the browser console and you will see the received data from the API
Done!
Now you can create pages, attach attributes, blocks, forms, add products, and much more. You can read the full description of the system features in the user manual, as well as in the video overviews that clearly demonstrate the key features and use cases of OneEntry, and watch tutorials on our channel.